Designing a website is a journey that requires clarity, structure, and creativity. It’s not just about making something visually appealing—it’s about understanding what a brand needs and turning that into a smooth, functional digital experience. Here’s a complete breakdown of my workflow, from the very first idea to a fully launched website.
1. Understanding the Project & Client Goals
The process always begins with understanding the client and the purpose of the website. This includes learning about the business, its audience, and the message it wants to communicate. At this stage, I also study competitors, map out possible user journeys, and identify the features the website must include. By the end of this phase, I have a clear project plan with a defined structure, including the site map and essential content sections. This sets the foundation for everything that follows.
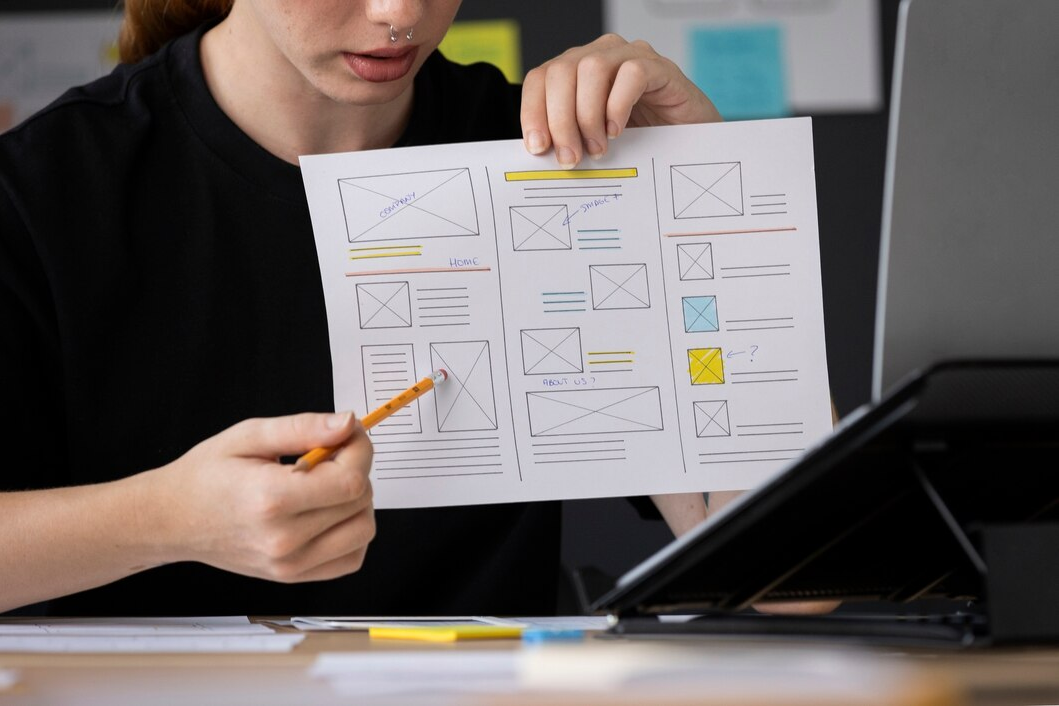
2. Creating the Wireframe
Once the core idea is defined, I move to wireframing. A wireframe is essentially the skeleton of the website—simple, low-fidelity layouts that show where different elements will appear. This step helps establish the structure without getting distracted by colors or styling. Wireframes allow both me and the client to evaluate the page flow, navigation, and content placement early. It ensures that the layout supports the user journey before design details come into play.
3. Designing the UI (User Interface)
After finalizing the wireframes, I begin creating the visual design. This is when the brand starts to take shape on the screen. I develop the color palette, choose typography, set up grid systems, and build the components that will be used across the site. The goal is to create a consistent and intuitive design that not only looks good but also guides the user effortlessly. During this stage, I also consider responsive variations so the design feels natural on every device.
4. Prototyping the Interaction
A website is more than static screens—it’s an experience. To bring the design to life, I create interactive prototypes that simulate how users will move through the site. This includes transitions, hover effects, and small animations that make the interface feel smooth and engaging. Prototyping helps clients visualize the final experience and gives room for early feedback before moving into development.
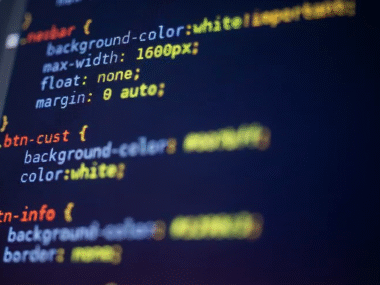
5. Front-End Development
Once the design is approved, I translate it into clean, structured code. I start with HTML5 for the basic layout, then style the design using CSS3 or SASS. JavaScript or jQuery is added for interactivity, such as sliders, animations, or dynamic elements. I follow a mobile-first approach, ensuring the site adapts seamlessly to various screen sizes. Accessibility and performance are key considerations here, making sure the website is usable and fast for all users.
6. Backend Integration (When Required)
If the project involves dynamic content, user management, or e-commerce features, the backend development stage begins. Depending on the nature of the project, I integrate tools like PHP frameworks or WordPress to manage content and functionality. This part involves setting up databases, creating admin panels, and ensuring everything works smoothly behind the scenes. The goal is to make the website easy for the client to manage while keeping it stable and secure.
7. Quality Assurance & Testing
After development, the website goes through thorough testing. I check how it behaves on different devices, from desktops to mobile phones, and test it across various browsers. This stage helps catch layout issues, broken links, speed problems, and any parts that might affect usability. I also review content accuracy, spacing, alignment, and overall consistency to ensure the site feels polished and professional.
8. Client Review & Final Adjustments
With the testing complete, I present the website to the client for review. This is a collaborative phase where we walk through every page, discuss the flow, and identify any adjustments needed. Every small change—from copy edits to design refinements—is handled carefully to ensure the final version matches the client’s expectations.
9. Website Launch
After final approval, the website is prepared for launch. This includes setting up the hosting environment, linking the domain, installing SSL for security, and adding tracking tools like analytics. I also perform a final check to ensure everything loads quickly and works correctly. Once everything is in place, the site goes live and becomes accessible to the world.
10. Post-Launch Support
Even after the website is launched, the work doesn’t end. Websites require updates, security checks, content changes, and performance monitoring. I provide ongoing support to ensure the site stays fast, secure, and up to date. This helps the website grow with the business and remain effective long after launch.